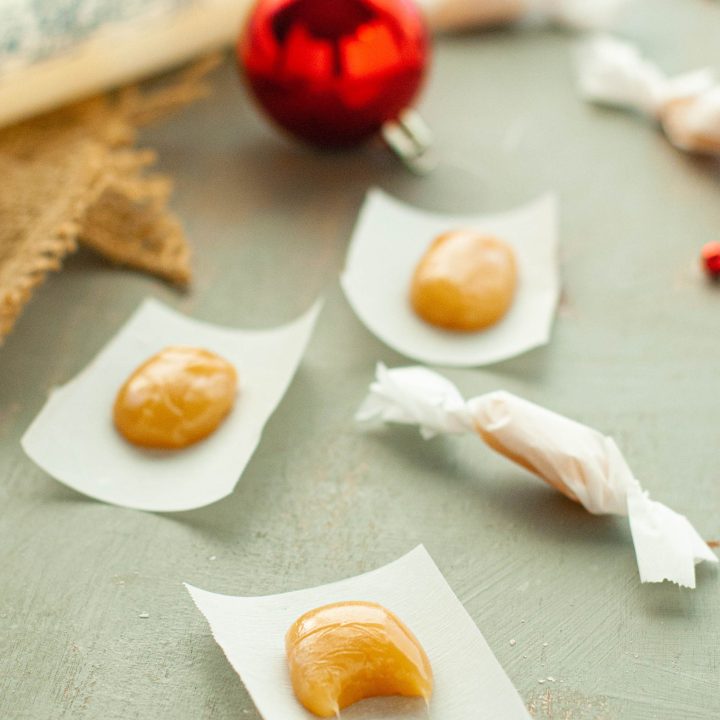
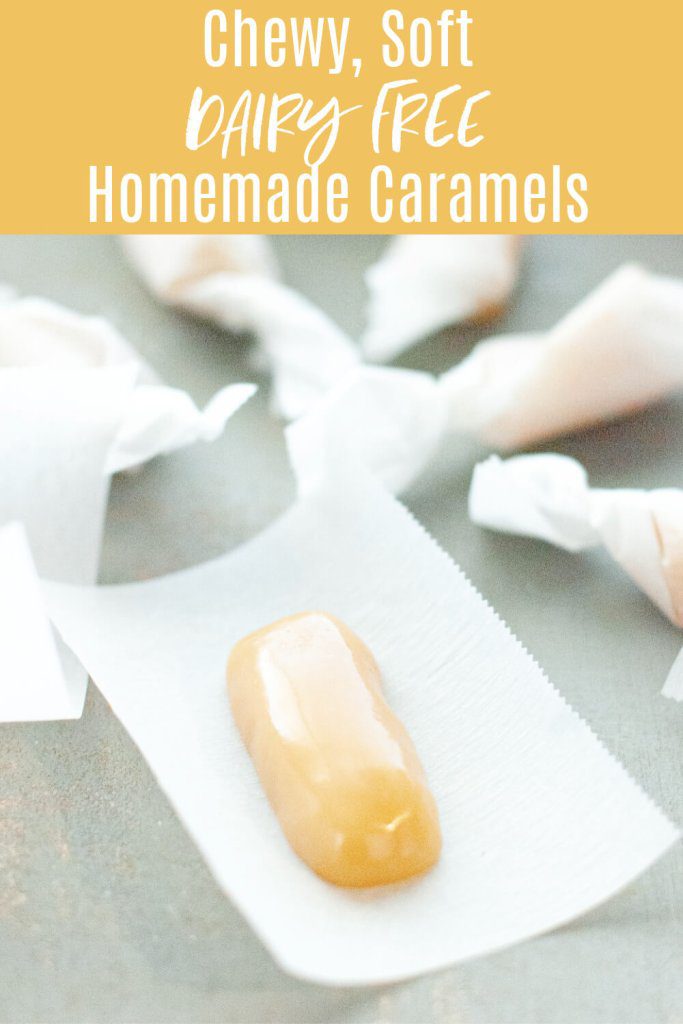
Rich, sweet, buttery, soft and most importantly chewy caramels that use ZERO dairy. Yes, it can be done! It’s a Christmas miracle and you’ll be eating it by the pound. The recipe is quite simple, only six ingredients, and all you need to do is stir. Let me show you how to make these dairy free caramels that are also free of: wheat, gluten, dairy, egg, soy, peanut and tree nuts, making this Christmas candy top-8-free and vegan too!
None of these products are sponsored. I just know how annoying it is to guess what brand someone uses, so I use Amazon affiliate links to show you.
Why I love these dairy free caramels
Just ask my mom, I have been obsessed with caramel since I was a young kid. It’s one of my favorite candies or toppings and it has literally been a HUGE PAIN IN MY SOUL that I could not give my son, who has a milk and nut allergy, homemade caramels. What is Christmas without caramel you wonder? It’s sad. That’s what it has been for almost a decade. A true blue Christmas.
I finally found a coconut dairy free caramel recipe a few years ago. But it took forever and it was hit and miss.
So imagine almost crying tears of joy when I found this recipe, that only needs one pot, only needs to be stirred, is so simple and is so dang good every time. The same joy I had when I saw my kids enjoy the taste of sweetness through the list of kids’ candies that I prepared.
I took a huge bowl of these dairy free caramels to a New Year’s Eve party where no one has food allergies. I didn’t say anything about them being dairy free. People were devouring them and kept coming up saying how good they were. They were SHOCKED that they were dairy free. Utterly shocked. And you will be too! I can finally share them with my son, that is…if I can stop hogging them. Haha.
What sweetened condensed coconut milk do I use?
I use Andre Prost Sweetened Condensed Coconut Milk–mostly because that’s the one I can find at my local Walmart (#ILiveInASmallTown). It was a very happy day in my life when I realized they made sweetened condensed coconut milk. What a lifesaver! It is also key to a dairy free fudge. Here are the ingredients:
- pure can sugar, filtered water, coconut cream, xanthan gum
I think Nature’s Charm brand would also work well. Even though the Andre Prost is 11.6 oz an the Nature’s Charm is 11.25 oz they should be interchangeable.
And yes, it needs to be sweetened condensed coconut milk. Not evaporated, or just coconut milk. If you can’t find it, you can try my other coconut caramels, but like I say above, they are more work and are harder to get right. I’m sorry, if you have a coconut and milk allergy, I do not know of any substitutions.
What vegan butter do I use?
I use Earth Balance Buttery sticks. These are the ingredients:
- Natural oil blend (palm fruit, canola, soybean, flax and olive oils), water, salt, contains less than 2% of natural flavor, soy protein, soy lecithin, lactic acid (non-dairy), and naturally extracted annatto (for color). Contains soy.
If you have a soy allergy, be sure to use their soy free version.
I haven’t tested it with other dairy-free butters, but I would assume many would work. I just wouldn’t sub in the spreadable butter, in place of buttery sticks.

Can I use something other than corn syrup?
I’m sorry, this is not a diet blog. I have never been into looking into sugar substitutes. This is Christmas, so I am fine indulging at Christmas time. I know corn syrup is frowned upon, and I’m sure there are other bloggers who will find work arounds for you. I already have to work around: gluten, dairy, egg, peanut and tree nut allergies, so I don’t want to make my job any harder.
Corn syrup is an invert sugar, and really helps with the texture of the caramels. If you’re desperate to try something, the closest I can suggest is brown rice syrup, but again, I’ve never personally tried it. If you do, please comment below.
I’ve been fine using the Great Value corn syrup, or Karo corn syrup.

Can I use white sugar instead of brown?
Yes you can. I feel like the brown sugar gives it a richer flavor, but use whatever you have on hand. I use light brown sugar, but you could probably be fine with dark as well.
What vanilla do I use?
I have been fine using several brands of imitation vanilla extract. I’ve got four kids and my husband works at the local junior high, so I gotta scrimp where I can. Use whatever vanilla (real or imitation) that you most prefer.
What baking supplies do I need for dairy free caramels?
Here are the tools you need to complete the dairy free caramels from start to finish:
- A square baking pan (8×8 or 9×9 will work)
- A good quality medium sized pot (I use calphalon)
- A digital thermometer is ESSENTIAL. I’ve tried using old fashioned candy thermometers that stick to the sides of the pot, and they just are not as fast or reliable as a digital read. I can’t find my exact model, but I use one similar to this one for grilling, meats, and candy and it works great.)
- A heat safe spatula, or other heat-safe spoon for stirring
- Cellophane wrappers for wrapping the caramels

How long does it take to make vegan caramels?
It might be tempting, but keep the heat at medium and don’t turn it up to try and make it go faster, so you don’t burn your sugar. I’ve had it take a variety of times, depending on if I have a gas range or an electric range. Do plan on it taking probably around ten minutes for while it’s cooking, and that’s a ballpark.
So, don’t start it if you have something else going on. You’ll want to stir frequently until it starts to bubble, and then constantly be stirring once it’s bubbling and checking the temperature. It requires your full on attention. Getting it to the right temperature, and then not letting it go past is vital to the texture of the caramels. Take it off too soon and it won’t set up, take it off too late and they will be hard.
You can cook them until they reach anywhere between 235-245 degrees F. I like to shoot for 240, right in the middle.
You’ll then need to wait for them to cool so you can cut and wrap them. The cooling can takes a few hours.
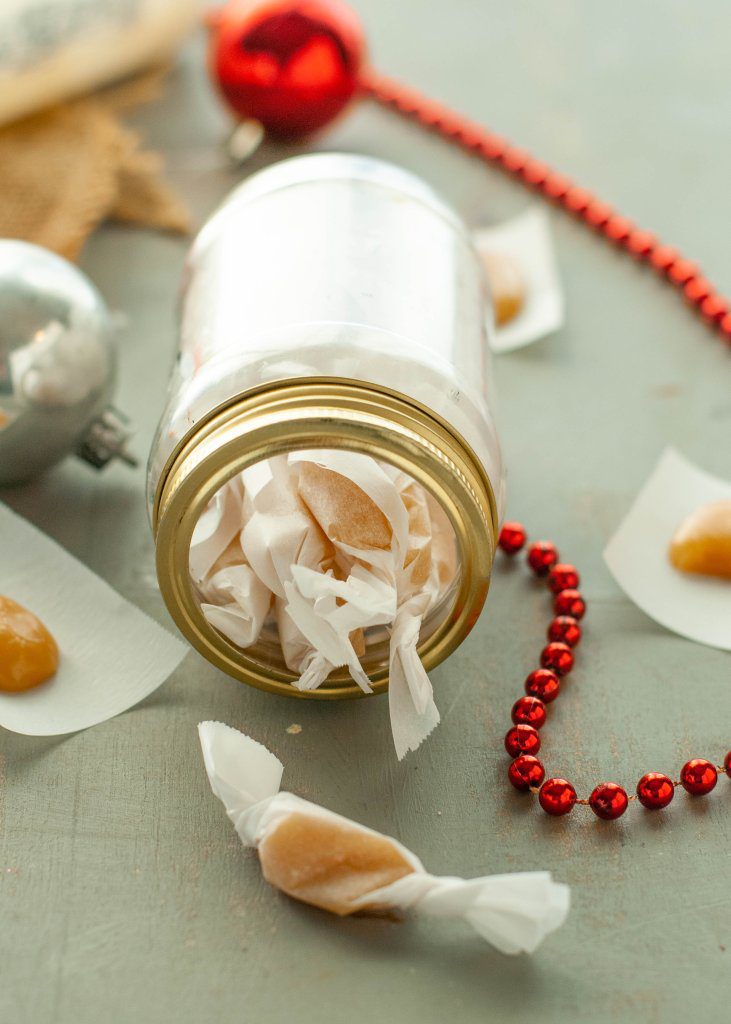
I like to wrap them small, because they’re so rich, and can get about 50 pieces in one batch, so plan on some time to assemble that as well.
I like to make an assembly line with my kids and we can knock it out quickly.
While caramels take some time, I think they are absolutely, 100%, no doubt about it worth it. Especially if it means you can include someone who has a dairy allergy or is avoiding milk.
Merry Christmas from my family to yours. I’ve been so excited to share this and hope you’ll also share it with those who would like them as well.
Do I have other dairy-free Christmas treats?
Do I? I love to bake and share with my friends and neighbors. And, because of my son’s milk allergy, absolutely EVERYTHING on my site is dairy free.
In fact, he’s also allergic to eggs, so all of my baking is technically vegan too.
My son also has a wheat allergy, so everything is gluten free too. However, if you don’t need it to be gluten free, you can swap in regular flour 1:1 and omit the xanthan gum. Easy peasy!
It’s hard to pick one, so here’s a list of our favorite dairy-free Christmas bakes:
- Dairy Free Soft Caramel Corn
- Reindeer Rice Krispies
- Eggnog Cupcakes with Eggnog Frosting
- Cherry chocolate thumbprint cookies
- Maple cookies with maple glaze
- Soft, roll out sugar cookies
- Chocolate orange cookies
- Rice Krispie Christmas Trees
- No Bake Chocolate Pretzel Bites
- Chocolate peppermint crinkle cookies
- Dairy Free Fudge
- Dairy Free Peppermint Patties
- Homemade Oreos
- Christmas Rice Krispie Roll
- White chocolate dipped peppermint cookies
- Peppermint Pie
Do I have a video showing how to make the caramels dairy free?
Yes I do! I made a TikTok video, because I like how short and succinct they are. By watching this, it will give you a good overview of how easy it is to make these chewy caramels:
@allergyawesomeness Soft, chewy DAIRY FREE CARAMELS! Only 6 ingredients and all you have to do is stir. Recipe at: AllergyAwesomeness.com. #vegancaramel #vegancaramels #dairyfreecaramel #dairyfreechristmas #veganchristmas #allergyfriendly ♬ original sound – 1 Minute Christmas Sounds?
Chewy Dairy-Free Caramels
Rich, sweet, soft & most importantly CHEWY caramels that use 0 dairy. Yes, it can be done! These dairy free caramels are a Christmas miracle!
Ingredients
- 1/2 cup vegan butter (see post above)
- 1 can, 11.6 oz, can sweetened condensed coconut milk (see post above)
- 1/2 cup corn syrup
- 1 cup brown sugar
- 1 teaspoon vanilla extract
- 1/8 teaspoon table salt
- ESSENTIAL: Digital food thermometer
- Cellophane wrappers
Instructions
Be sure to watch the tiktok video right above the recipe card, if you'd like to see how to make it.
To begin, grease an 8x8 or 9x9 square baking dish (depending on how thick you want the caramels).
Heat a good quality medium sauce pan over medium heat. Melt your vegan butter. Add your sweetened condensed coconut milk, corn syrup and brown sugar. Stir frequently with a heat proof spatula or other heat-proof spoon (do not adjust the heat).
Once it's boiling, I stir non stop, and check the temperature every minute or so. You may find that the temperature stalls out in the 220's...that is normal. Be patient!
Cook the caramels until it reaches between 235-245 degrees F. I like to shoot for 240 in the middle. This is why a digital thermometer is vital.
Once it reaches the temperature, remove it from the heat. Stir in the vanilla and salt.
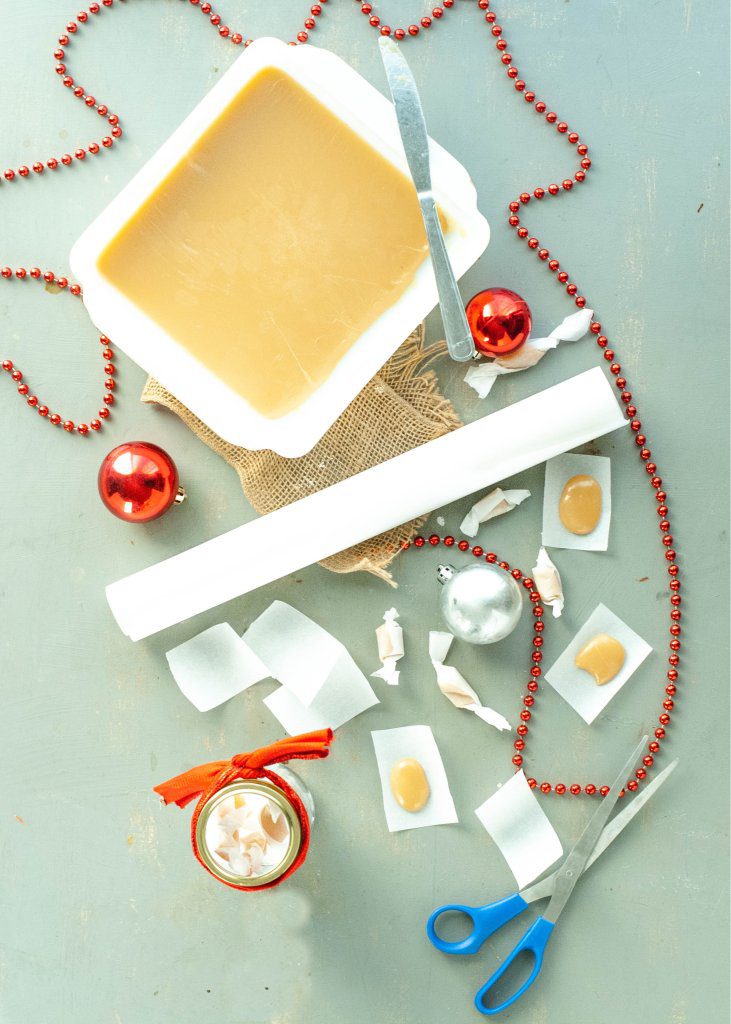
Pour into the greased baking dish.
Allow to cool completely.
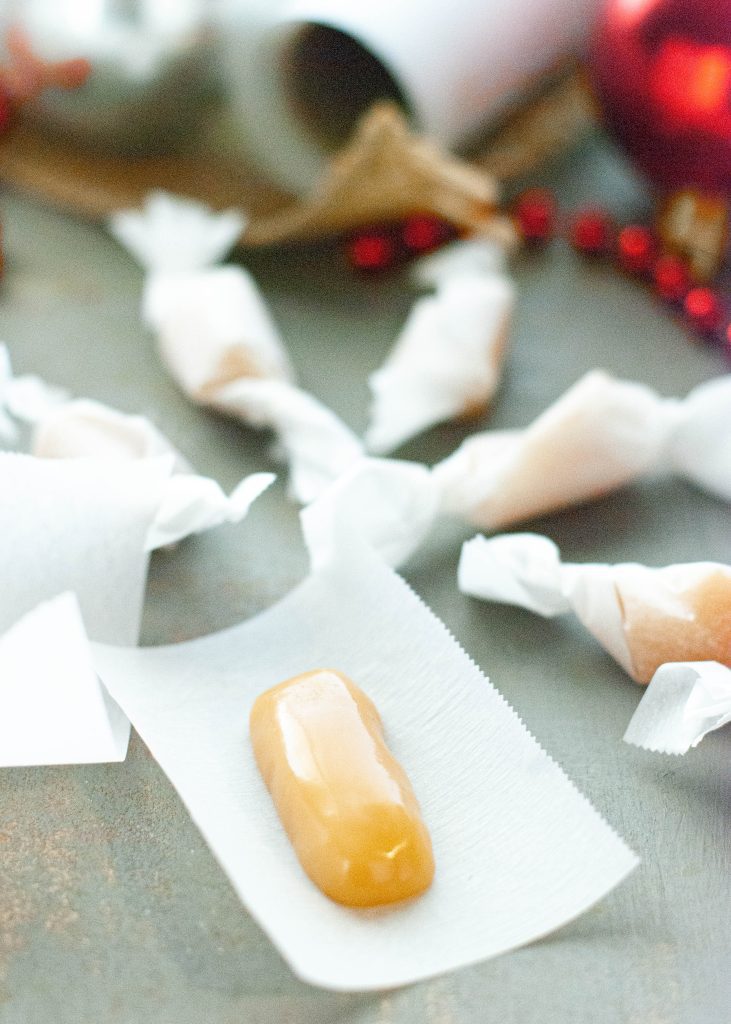
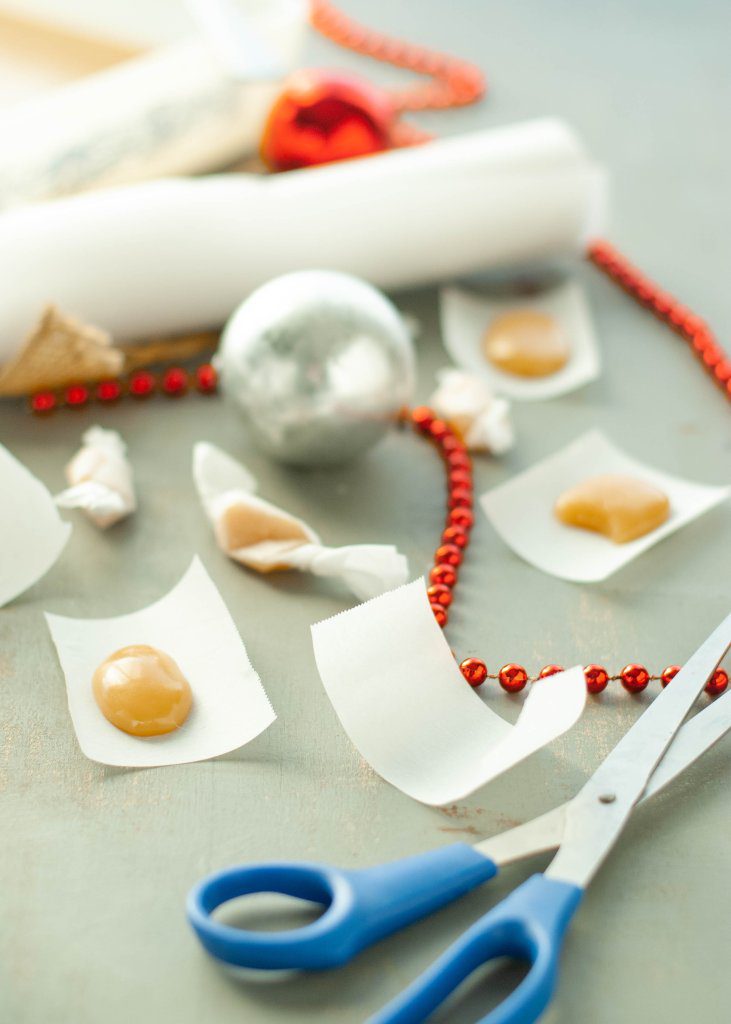
Cut with a greased knife into little rectangles, and wrap each one in wax paper. Give away to any lucky soul, or enjoy yourself!
Notes
For substitution options, read my post above.
Check out my other Christmas treats.
*Our allergies, while severe and that get re-tested yearly, are such that we can go strictly by what's on the label. I do not call companies to see what things are derived from, or call manufacturers to see about potential cross contact. If your allergies require you to do so, please do your own homework. I cannot assure you of any ingredient's safety, only you can do that. I simply share what works for our family
**If you are going to feed this to someone with food allergies, and you yourself do not have food allergies, I HIGHLY recommend having them check every single brand and ingredient you are using, to ensure they're OK with each part of the recipe. And, to make sure you've talked to them about how to avoid cross contamination in your kitchen.
This recipe is adapted from the highly talented and oh-so-wonderful Rachel from The Stay At Home Chef. She is always inspiring.
Nutrition Information:
Yield: 50 Serving Size: 1Amount Per Serving: Calories: 56Total Fat: 4gSaturated Fat: 3gTrans Fat: 0gUnsaturated Fat: 1gCholesterol: 5mgSodium: 24mgCarbohydrates: 6gFiber: 0gSugar: 6gProtein: 0g
DON’T FORGET TO PIN IT, SO YOU DON’T LOSE IT. WHILE THERE, CHECK OUT MY OTHER DIETARY SPECIFIC PINTEREST BOARDS!

Hi! I’m Megan, a mom to four kids, two with multiple food allergies & one with EOE. I’m a published cookbook author who constantly tweaks recipes to make them allergy-friendly—it’s an addiction. I’m also a member of the Allergy Advisory Council for Certified Free From Foods, where I help advocate for safer labeling and standards. I share every recipe & tip with the hope that they help you as you manage your food allergies & dietary restrictions. You can still be awesome, even with food allergies!
Related Recipes:
 SunButter Banana Muffins (Gluten-Free, Top-8-Free & Refined Sugar-Free)
 Gluten & Dairy Free Streusel Stuffed Peaches (Vegan too!)
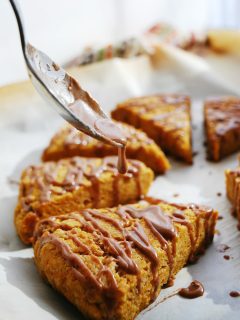 Pumpkin Scones with Spiced Glaze (GF, Top 8 free, Vegan)
 Gluten-Free Vegan Double Chocolate Baked Donuts
 Allergy-friendly Vegan Double Chocolate Banana Muffins
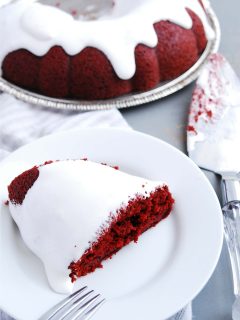 Allergy-Friendly Red Velvet Bundt Cake (Gluten-Free Option)


Kathy H
I made this recipe today as a trial run for a Thanksgiving Caramel Apple Pie. The caramels are so good. (the hardest part was stirring LOL) My daughter who has to be dairy free was so excited when she came by and tasted. She is looking forward for her Pie.
Thank you for the recipe.
Megan Lavin
Hey Kathy! Thank you so much for taking the time to comment. I’m so glad you and your daughter enjoyed them. Crazy to think it’s already almost time for Thanksgiving!
Caron
How log will they keep out if the fridge? I have to send them to the UK and that can take about 10 days! Also, can I use silicon candy molds? I use them for regular caramels.
Megan Lavin
Hey Caron. Thanks for stopping by. I’ve definitely forgotten about a few and left them on the counter for over a week and they were totally fine. I can’t say for sure on the silicon molds, I’ve never tried them. If you do try them, please report back. I’d be very curious how they work. THanks!
H😎
really great, would reccomend. I used sweetened condensed oatmilk instead of coconut, and it turned out really good. I used this recipe for caramel apples since I wanted a recipe where the caramel would firm up while on the apple, instead of having to drizzle caramel over apples like one usually has to do with non-dairy. It worked really well.
Megan Lavin
Hannah, I really appreciate you taking the time to comment. I’m so pleased to hear you enjoyed it, AND that it worked for coating apples as I’ve yet to try it that way.
Lish
Sadly, if you use Earth Balance, these are not “Top-8 allergen-free” (contains soy or coconut, depending on the type of EB you use).
Megan Lavin
Hi Lish. Earth Balance has soy free sticks for those that need it. And. coconut is not considered a top 8 allergen. Please see this source from the ACAAI: https://acaai.org/allergies/allergic-conditions/food/tree-nut/
Erin
Can I use regular butter?
Megan Lavin
Yes! Happy baking.
Mary Ann
Has anyone tried dipping apples in this caramel and have it set up? Maybe by cooking it longer? We have a caramel apple party every year, but my son who has a dairy allergy is old enough that I think he’ll feel left out this year.
Megan Lavin
Hey Mary Ann, I’d use this caramel for dipping. It’s much easier to make and has the runnier type of consistency: https://allergyawesomeness.com/vegan-caramel-sauce/
Sapientia
Can I use condensed oat milk instead of the condensed coconut milk? Thanks!
Megan Lavin
Hi. Great question. I have not been able to find condensed oat milk to try it myself. If you try it, I would love to hear if it turns out.
Joshua Moon
Are these shelf stable or should they be stored in the fridge?
Megan Lavin
I keep mine at room temperature, covered with plastic wrap.
Jess
Would these work to place on pretzels for an adaptation of the rollo chocolate pretzel trend?
Megan Lavin
Ummm…that sounds divine! Worth a try. Or, you could take crunched up pretzels and sprinkle them on top. I’m excited to hear how this turns out. Please report back!
Cheri
Have you ever doubled the recipe?
Megan Lavin
All the time! I use a 13×9 pan when I do. Enjoy!
Cathy
I was planning to use this caramel to make turtles. Wondering if it would spread out too much?
Megan Lavin
Probably. As you see in my video it runs pretty good when you’re pouring it into the pan. Sets up nice, but def still liquid when finished cooking until it cools. You could try cooking it to a higher temperature to see if that would help it from spreading. Good luck tweaking it.
Sandy Gillespie
Just finished making these with Honey from our beehives in place of the corn syrup. I also infused the sweetened condensed coconut milk with fresh ginger from my garden. I did cook the caramel until it reached 250 degrees. Planning to give as Holiday gifts. I have a picture I could share.
Megan Lavin
Wow! What a garden it sounds like you have. So cool! I hope your gift receivers appreciate it.
Angie
Hi, do you think I can use sweetened condensed oat milk instead of the coconut? Thanks!
Megan Lavin
So cool! I’ve never heard of this. I’m so glad you asked so I could learn about it. As I’ve never worked it before, I really can’t say as I haven’t seen how close it is to texture and thickness to the coconut counterpart. If you try it, please report back. So exciting they’re getting more and more stuff every day.
Helene
Hi all
I just made these
Exactly as in recipe
Waiting to cool down
🤞🤞
I have used the condensed milk with oats in the past but had no success with it
So won’t used that one again
I live in the uk
Helene
I just had an afterthought
Could I put it in fridge to cool down faster??
KATHY MALLORY
i am trying to make a dairy free molasses caramel, if I sub molasses for the brn sugar, do you think I should eliminate the karo?
Megan Lavin
Hi Kathy, I’ve never made molasses caramels, and so I don’t feel I could adequately advise you. I’m sorry. Messing with different sugars can be tricky because it throws off the liquid ratio. If you try it, please report back!
Michelle
Hi! Do you think these would hold up stuffed in a cookie? I make a gluten free/ dairy free cookie and wanted to stuff it inside. I’m wondering if it would melt and be absorbed as the cookies baked or would it stay true to form?
I make this style of cookie for friends without allergies (regular gluten filled cookies) and am trying to see if I can do something similar for my friends with allergies.
Another option – would these be able to be melted on top of cookies? Thanks for your thoughts!
Megan Lavin
Hi Michelle. I’ve never tried to stuff them in anything, so I really can’t say. I’ll be excited to hear if you try it. If you want to drizzle something on cookies, I’d probably recommend something more like this: https://allergyawesomeness.com/vegan-caramel-sauce/
That’s so nice of you to want to include your allergy friends!
Celeste
What elevation do you live at? I’m at around 5,500 ft above sea level and always need to adjust temperatures when making candy. I want to make these but need to know if I need to adjust the temperature. Thanks!
Megan Lavin
Hi Celeste–I live at an elevation of 4700. Hope that helps!–Megan
Grace
I’m so glad someone asked this question – I hadn’t even thought about it but I’m at about 900ft so this is really helpful thank you!
cj
Megan, I am not sure how I landed here. But glad I did. What a wonderful job you are doing “normalizing” life for food sensitive folks. Q: I only need to be dairy free. I want to make chocolate covered caramels. Will these hold up for dipping in chocolate, momentarily at about 85 to 89°F? Certainly I would dip them as cold as I can without either warming the caramel or cooling the chocolate too much. I am encouraged by their soft texture as chocolate covered caramels require “bite-ability” and can’t be too hard. Thoughts?
Thanks again for the recipe.
Megan Lavin
Thanks so much CJ. So happy to have you here. I haven’t ever dipped them, but I would think it would work. Please report back in case you get to trying it before I do. And, you can always add eggs and regular wheat flour back into my recipes by swapping them at a 1:1 ratio, for future reference. Enjoy!
Krista
Wow! Wow! Wow! These are AMAZING!! SO SO Good! Highly recommend this one!
Megan Lavin
Thanks Kirsta. I really appreciate the feedback.
Kati
What’s the best way to store these and how long do you think they would keep? I’m thinking of making them as Christmas presents. Thanks!
Megan Lavin
Hi Kati, great question. We always devour these within a few days, so I can’t say for certain. I did save a few from the last batch to try freezing it. It’s such a new recipe that I just haven’t had time to test long term methods. I typically keep them individually wrapped in wax paper at room temperature.
Nichole Flaharty
Caramel is my most favorite sweet! Grateful to you for creating and sharing this with us! I can’t wait to make this so my allergic son can finally taste what his mom raves about! Thank you! ♥️
Megan Lavin
Ahhh! My pleasure. I hope your son loves it! 🙂
Alicia
Seriously delicious it should be illegal. Thank goodness it’s not though because these are so good, like eat the whole pan by myself good. Sorry, not sorry. The buttery goodness melts in your mouth. I don’t know how Allergy Awesomeness knows my weaknesses, but I’ll just have to add this to all her wins. You won’t be disappointed!
Megan Lavin
Ahhh. Thanks Alicia! And, you may have to fight me for at least half the pan. I think between us two, we could down it!
Marsha Lavin
What a wonderful recipe. I love caramel, my favorite and these will be such a treat and to share with others during the Season we’re entering.