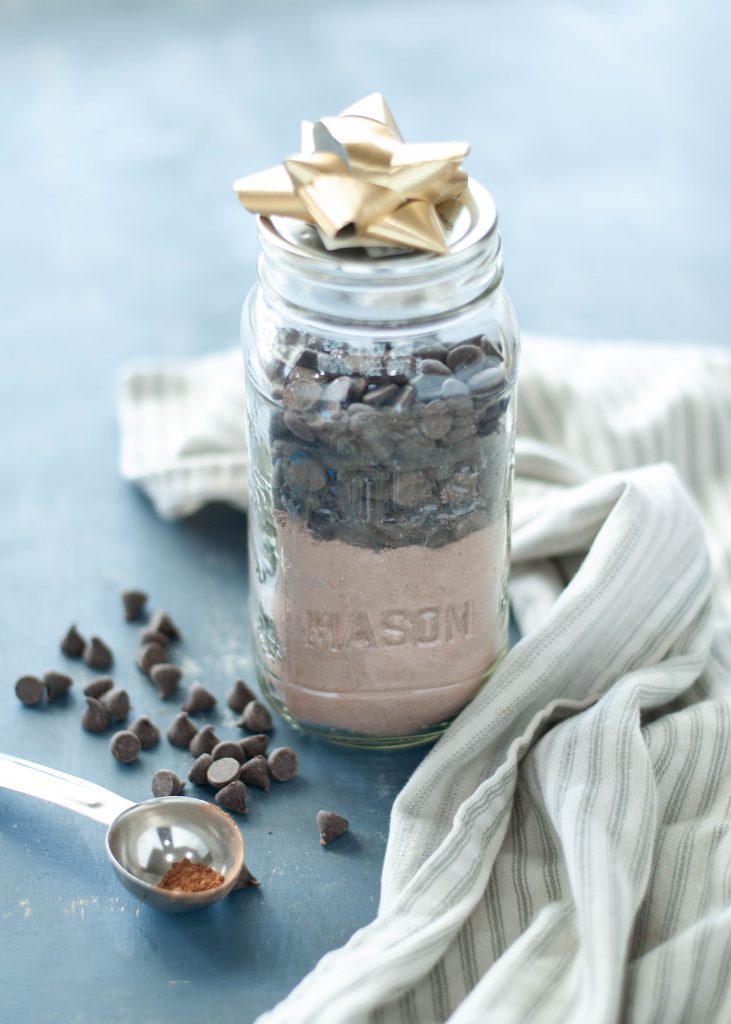
One of the best presents you can either give to someone, or yourself, is a pre-made brownie mix to use when the craving strikes. Gluten-free, with a dairy-free option too, this brownie mix is a quick and easy way to satisfy that chocolate craving. Rich, thick brownies are a breeze when you start with this homemade mix. This homemade brownie mix is free of: wheat, gluten, fish, shellfish, peanut, tree nuts and sesame, making it free of 7/9 top allergens–with soy-free and dairy-free options too.
This post contains affiliate links.
WHY THIS BROWNIE MIX ROCKS:
- When you make it homemade, you have completely control over the ingredients, and have no preservatives and fillers.
- This brownie mix only requires you to add butter (or dairy-free butter), eggs and vanilla when you’re ready to bake.
- This mix makes a 13×9 pan–a rarity for gluten-free goods!
- This mix can be halved to make two 8×8 square pans–so give someone the big amount, or split it to make two smaller gifts.
- Make it for a friend or neighbor gift around the holidays, birthdays or just because. Send it with a grandma or grandpa who love to bake with their grandkids but don’t know how to bake gluten-free.
- Make it ahead for yourself, so when you want to bake, you’re not starting from scratch.
- These brownies are thick, substantive, and fudgy from both cocoa powder and melted chocolate chips. My mother, who has no food allergies said: “It was one of the best brownies I’ve had in a long time.”
- This recipe uses both white and brown sugar for extra moisture and tenderness.
HOW IS THIS BROWNIE MIX GLUTEN-FREE?
This brownie mix is gluten-free because it uses certified gluten-free flour. None of the other ingredients have gluten in them, though you always need to read EACH label for everything you use, just in case a recipe has changed, or a manufacturer snuck a gluten or wheat containing ingredient in there.

WHAT GLUTEN-FREE FLOUR SHOULD I USE FOR THIS BROWNIE MIX?
I like to use Walmart’s Great Value All Purpose Gluten Flour. I find it’s a very close, but less expensive, substitute for King Arthur’s 1:1 baking blend. I wouldn’t venture outside of those two brands as other brands have their own blend of grains they use.
HOW CAN THIS ALSO BE DAIRY FREE?
The dairy-free portion will be up to you, or the person you give the mix to. They will need 2.5 sticks (for a full recipe, or 10 Tablespoons for a halved). Both regular butter and dairy-free butter work great. I prefer Country Crock Plant Based Butter with Olive Oil, but most should work. If you’re looking for more rich and indulgent dairy-free desserts, try this easy dairy-free mousse—it’s a favorite for satisfying chocolate cravings without the dairy.
The other sticking point for dairy-free is the chocolate chips you use. You can use regular ones (semi sweet is what I’d recommend) or a dairy-free version. Enjoy Life, Ghiradelli or Endangered Species Chocolate Premium Oat Milk Baking Chips 55% Cocoa are all dairy-free options. Any of those should work. I’m currently using Endangered Species.
*Please note that some dairy-free chocolate chips have soy in them, so if you also avoid soy, be cautious of what kind you buy.
HOW CAN I MAKE THIS SOY FREE AS WELL?
How you can make this soy-free, depends on the level you need something soy free. Many people who have soy allergies can tolerate soy lecithin. You’ll need to speak to your individual health care provider to see if this is the case.
If you can, this will open up more chocolate chip and dairy-free butter options.
If you cannot tolerate soy lecithin, then I’d recommend Earth Balance’s Soy Free Sticks, and Enjoy Life Chocolate Chips (rice milk or dark is up to you–depending on how dark you like your brownies).

DIRECTIONS
You’ll want to either print the directions and punch a whole through it and tie it on a string to the jar or print it on a sticker you can attach to a bag or jar that you’re giving it in, so the directions don’t get lost. You can simply print it on on a word document, a sticker, or even have fun and make a festive design using Canva or other design software.
Here are the directions you’ll want to give for a full recipe:
Additional ingredients you’ll need:
- 20 Tablespoons of butter
- 4 large eggs + 2 egg yolks
- 1 Tablespoon of vanilla
- Preheat oven to 350 degrees. Grease a 13×9 rectangular pan with non-stick spray and set aside.
- In a large microwave safe bowl, add 20 Tablespoons (2.5 sticks) butter (dairy-free or regular) and the enclosed chocolate chips. Melt in your microwave 30 seconds at a time, stirring after each set until the chocolate chips are melted.
- Add in 4 large eggs + 2 egg yolks and whisk well.
- Add in 1 Tablespoon of vanilla. Stir.
- Pour in the dried mix and stir. The batter will be very thick and you’ll need to make sure you stir it well and scrape the sides and bottom to incorporate everything.
- Spread evenly into your greased pan.
- Bake for 30-35 minutes, or until the edges are set and the middle is done as much as you like (some may like it a little less or a little more depending on how fudgy you like them).
- Allow to cool before cutting into them.
- Store room temperature, covered tightly.
Here are the directions you’ll want to give for a halved recipe:
Additional ingredients you’ll need:
- 10 Tablespoons of butter
- 2 large eggs + 1 egg yolks
- 1/2 Tablespoon of vanilla
- Preheat oven to 350 degrees. Grease a 8×8 rectangular pan with non-stick spray and set aside.
- In a large microwave safe bowl, add 10 Tablespoons butter (dairy-free or regular) and the enclosed chocolate chips. Melt in your microwave 30 seconds at a time, stirring after each set until the chocolate chips are melted.
- Add in 2 large eggs + 1 egg yolks and whisk well.
- Add in 1/2 Tablespoon of vanilla. Stir.
- Pour in the dried mix and stir. The batter will be very thick and you’ll need to make sure you stir it well and scrape the sides and bottom to incorporate everything.
- Spread evenly into your greased pan.
- Bake for 25-30 minutes, or until the edges are set and the middle is done as much as you like (some may like it a little less or a little more depending on how fudgy you like them).
- Allow to cool before cutting into them.
- Store room temperature, covered tightly.
HOW TO PACKAGE OR STORE THIS MIX:
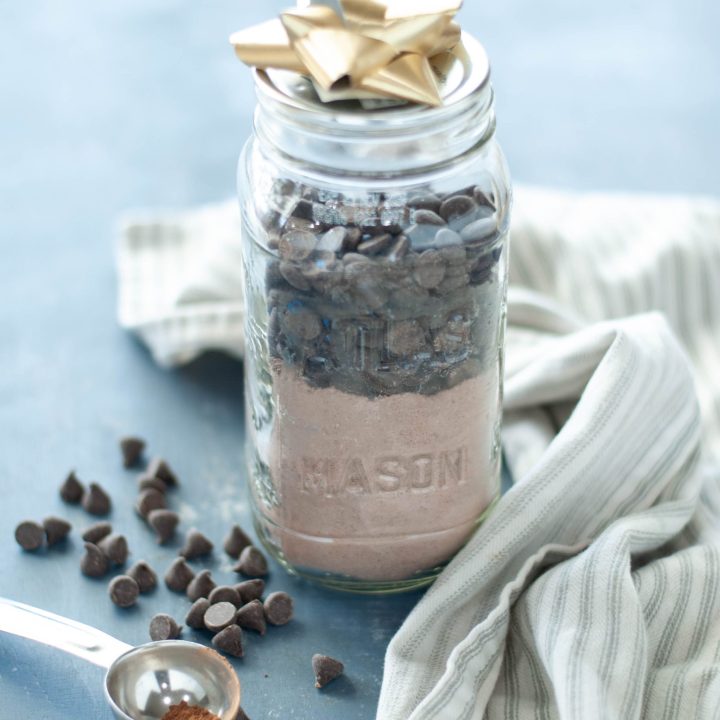
If you choose to keep it in a bag, I may suggest keeping the chocolate chips in a separate, small bag enclosed in the larger bag, since you will need to melt those, so you (or your recipient) are not fishing them out. If you’re choosing a glass jar, make sure they’re on the top so someone can easily access them, as shown in the photos.
If you choose a glass jar, be sure it is large enough. When I weighed my final mix it was a little over 27 oz. So, unless you have that large of a jar a gallon size Ziploc bag can work, or halving the recipe could work too!
Make sure you include the directions above too!

!!AN IMPORTANT NOTE ABOUT GIFTING GLUTEN-FREE ITEMS!!
If you don’t HAVE to eat this way, and you’re wanting to gift someone you love who does–that is amazing! Bravo to you for searching the internet and trying to find something for that special someone with a special diet.
Please note that they may feel uncomfortable eating it, because they weren’t there to verify which ingredients you used, or the possible cross contact that could happen in your kitchen.
One thing that always helps us feel better is if someone takes a picture of all of the ingredient labels used, so we can personally check the ingredients, or letting us know the exact brands they used so we can research them. We don’t do this because we don’t trust you, but because even we can make mistakes, who do this all the time. We recognize your eyes may not be trained like ours to catch little things, and we just want to protect our health. It has nothing to do with your feelings and we never want to hurt them. Thank you for being understanding!
Make sure you use freshly washed with hot soap and water all spatulas, whisks, measuring cups, bowls and spoons when preparing the food and never use one that has touched unsafe ingredients. Some people don’t even trust wooden cutting boards, spoons…etc. as they worry unsafe ingredients may still be lurking in the pores and cracks.
If anything–over communication is better than not enough. Reach out to your friend and ask them how they’d like it prepared and what you can do to ease their mind, and I’m sure they’ll have their own set or rules and can express how to safely cook for them. They’ll feel so touched you asked and where open to feedback.
DO I HAVE EGG-FREE OR VEGAN BROWNIES?
I do! If you need gluten, dairy AND egg-free brownies I’ve got you! Check out this amazing brownie recipe here.
DO I HAVE A VIDEO SHOWING HOW TO MAKE THIS BROWNIE MIX?
I do! The video showing how to make this gluten-free brownie mix should auto populate. If it doesn’t, it is embedded into the bottom of the recipe card. If that fails, you can view it on my YouTube channel (and while you’re there–please subscribe!)
DO I HAVE OTHER GLUTEN-FREE CHOCOLATE BAKED GOODS?
Yes, I do! Chocolate is the fountain of life in my opinion, so I have lots of yummy chocolate recipes that are gluten-free. Be sure to check out my recipe index to see the full selection. In the mean time, can I point you to a few favorites like my triple chocolate pie, flourless chocolate torte, no bake vegan chocolate cheesecake, Oreo cupcakes, S’mores brownie bars, and my double chocolate cookies.

Homemade Gluten-free Brownie Mix
One of the best presents you can either give to someone, or yourself, is a pre-made brownie mix to use when the craving strikes. Gluten-free, with a dairy-free option too, this brownie mix is a quick and easy way to satisfy that chocolate craving. Rich, thick brownies are a breeze when you start with this homemade mix. This homemade brownie mix is free of: wheat, gluten, dairy, SOY??, fish, shellfish, peanut, tree nuts and sesame, making it free of 8/9 top allergens.
Ingredients
- 1 cup brown sugar
- 1 and 1/2 cup granulated sugar
- 1 teaspoon salt
- 2/3 cup unsweetened cocoa powder
- 1 and 1/2 cups gluten-free all purpose flour, with xanthan included (above)
- 1 cup semi sweet chocolate chips (dairy-free if needed)
Instructions
- In a large mixing bowl, whisk brown sugar, white sugar, salt and cocoa powder.
- Pour the gluten-free flour into your measuring cup and level off with a knife. Do not drag or scoop the measuring cup into the flour, as that can compact it and it will end up with too much flour. Add measured gluten-free flour to the mixing bowl and whisk until combined and no lumps.
- If pouring the mix into a jar, pour the mix and add the chocolate chips on top. (A rolled up piece of paper or a funnel is helpful for this.)
- Or, if putting the mix in a bag, place the contents of the bowl in a bag, and then put the chocolate chips inside a smaller bag, so that they're easy to get out when it's time to bake.
- Keep in an airtight container for up to 6 months in a cool, dry place.
- When ready to bake, use the directions listed above the recipe card.
- *Note that this recipe makes a 13x9, so if you'd like, you can split this into two mixes that will make two 8x8 pans.
Notes
*Our allergies, while severe and that get re-tested frequently, are such that we can go strictly by what's on the label. I do not call companies to see what things are derived from, or call manufacturers to see about potential cross contact. If your allergies require you to do so, please do your own homework. I cannot assure you of any ingredient's safety, only you can do that. I simply share what works for our family
**If you are going to feed this to someone with food allergies, and you yourself do not have food allergies, I HIGHLY recommend having them check every single brand and ingredient you are using, to ensure they're OK with each part of the recipe. And, to make sure you've talked to them about how to avoid cross contamination in your kitchen.
Taken from my gluten-free brownie recipe.
Nutrition Information:
Yield: 20 Serving Size: 1Amount Per Serving: Calories: 118Total Fat: 3gSaturated Fat: 2gTrans Fat: 0gUnsaturated Fat: 1gCholesterol: 0mgSodium: 109mgCarbohydrates: 24gFiber: 1gSugar: 19gProtein: 1g
Note this is calculated for the dry mix, and not the completed brownies.
DON’T FORGET TO PIN THIS, SO YOU DON’T LOSE IT. WHILE YOU’RE ON PINTEREST, BE SURE TO CHECK OUT MY OTHER GLUTEN-FREE RECIPES!


Hi! I’m Megan, a mom to four kids, two with multiple food allergies & one with EOE. I’m a published cookbook author who constantly tweaks recipes to make them allergy-friendly—it’s an addiction. I’m also a member of the Allergy Advisory Council for Certified Free From Foods, where I help advocate for safer labeling and standards. I share every recipe & tip with the hope that they help you as you manage your food allergies & dietary restrictions. You can still be awesome, even with food allergies!
Related Recipes:
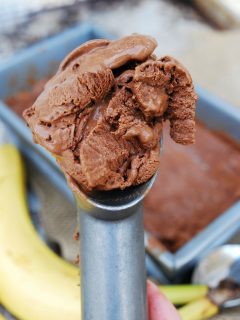 No Churn Vegan Chocolate-Banana Ice Cream
 Allergy-friendly Cinnamon Chocolate Popcorn (Gluten, dairy, egg, soy, peanut & tree nut free; top-8-free; vegan)
 Chocolate Covered Cookie Dough Easter Eggs
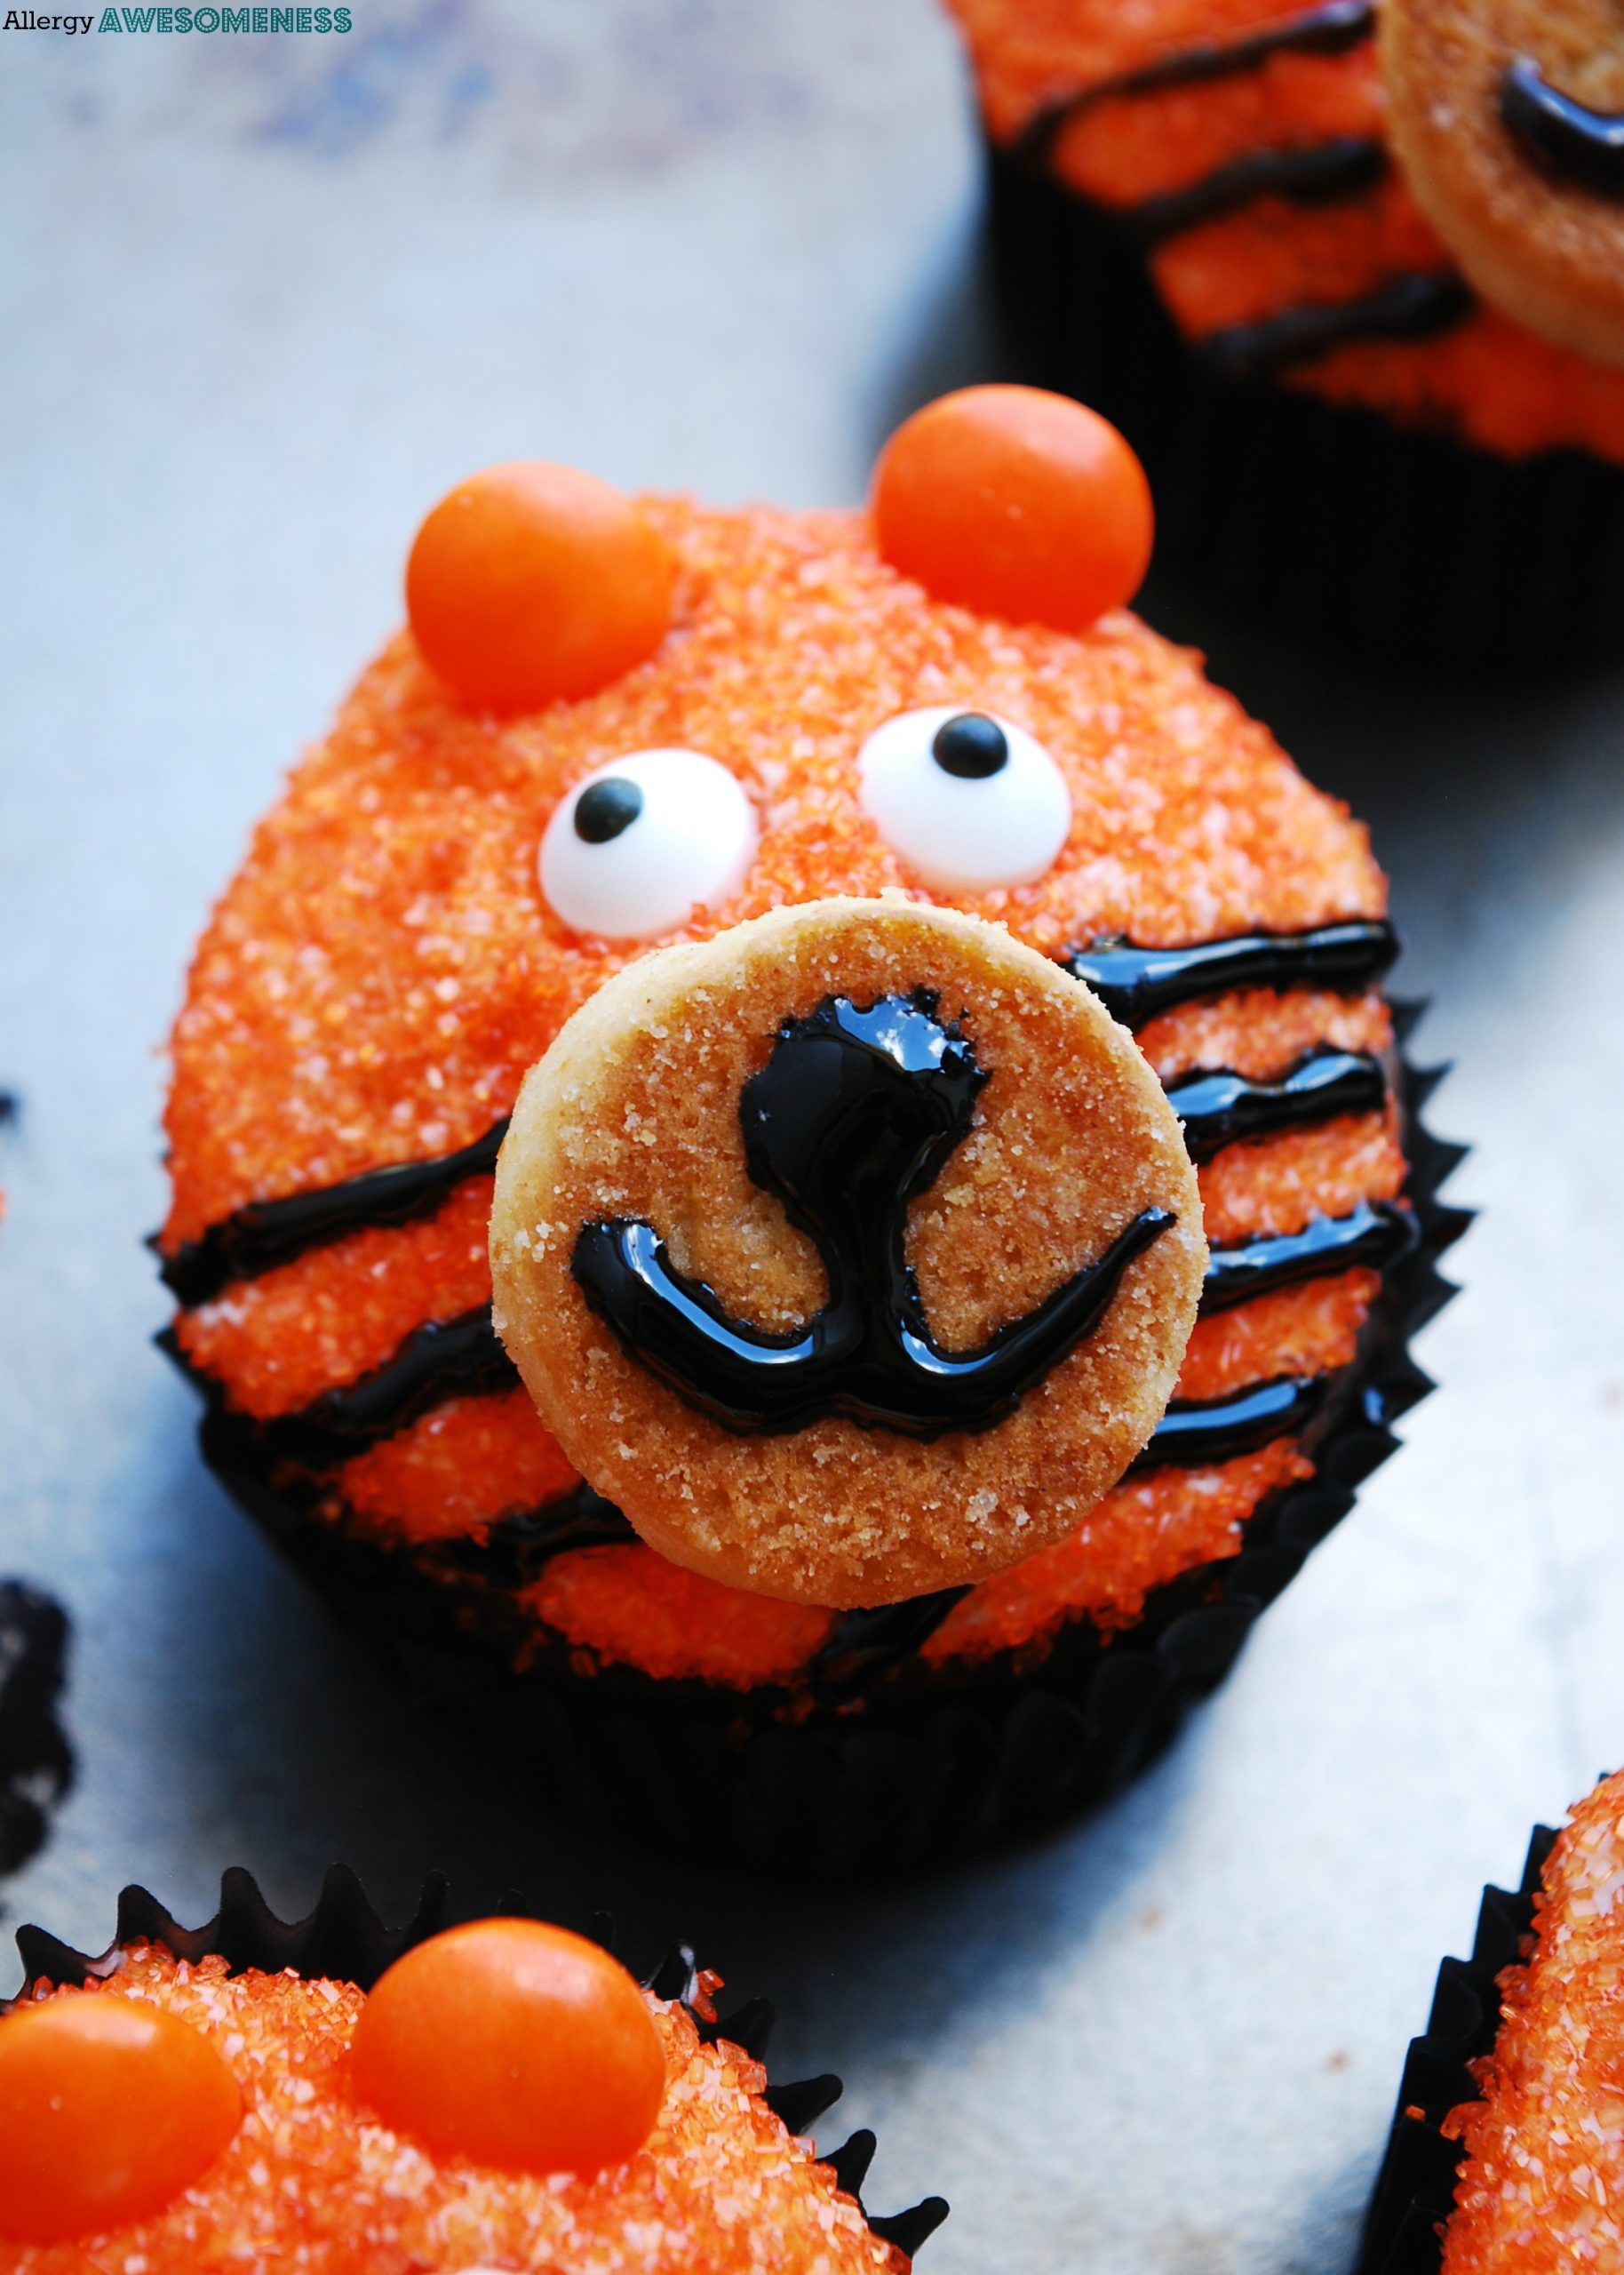 Allergy-Friendly Tiger Birthday Cupcakes
 Gluten-free Vegan Chocolate Chip Brookies


Leave a Reply