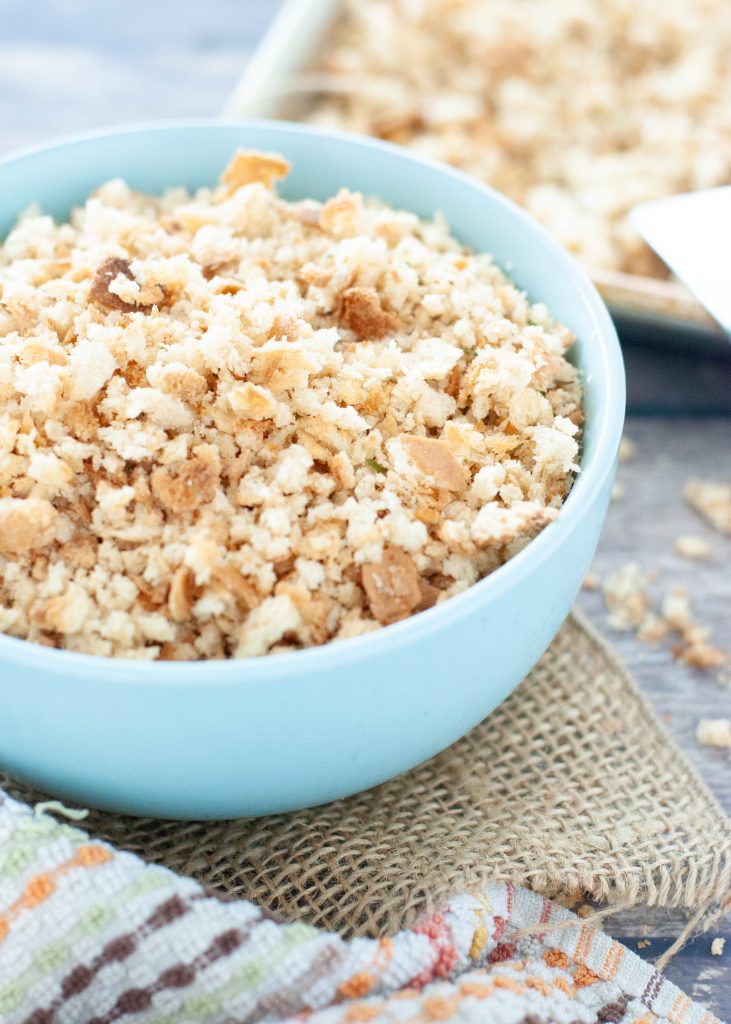
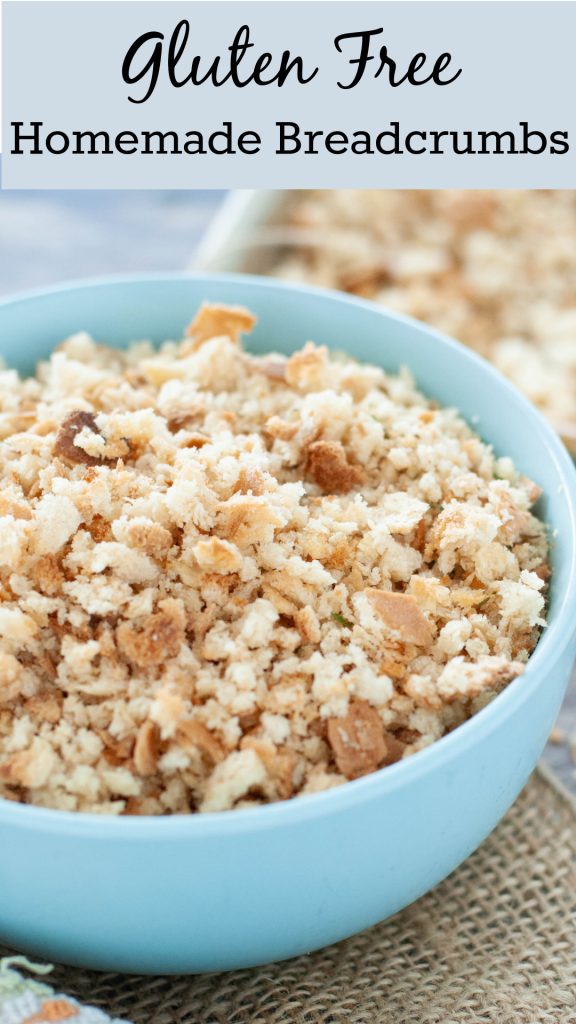
Easy, homemade, gluten-free bread crumbs. Ditch the store and make an entire sheet pan and freeze them for whenever you need to make meatballs, breaded chicken or need a delicious topping for your soups and salads. I have versions for both plain and herbed. These bread crumbs are also free of: dairy, egg, fish, shellfish, peanuts, tree nuts and sesame.

This post contains affiliate links.
WHY THESE BREAD CRUMBS ROCK
Store bought gluten-free bread crumbs can be expensive and hard to find and usually come in a small package. Why settle for that, when you can make homemade bread crumbs while in your pj’s??
Only two ingredients and voila–you have an entire sheet pan full of bread crumbs that can be frozen for several months and ready at a moment’s notice.
Also–many recipes call for “cups of bread” which is super confusing because it depends on how big you cut it, or process it down. So, I made my recipe to use up an entire loaf, so there’s no measuring or guessing. Plus, it gives you plenty to use and some to save for the next time.
Bread crumbs are a staple for many recipes, and just because your gluten-free doesn’t mean you can have those crispy little wonders too.
WHAT TYPE OF BREAD TO USE IN GLUTEN FREE BREAD CRUMBS
The perk of this recipe? You can use any brand you prefer or have on hand. I prefer Schar gluten-free bread (not sponsored), I think they make superior bread crumbs. I also like them because they’re egg-free, unlike a lot of gluten-free store bought brands. Not only does this make it more allergy-friendly, but egg in bread makes it very springy, and so I think it takes a little bit more to dry out. I want crispy-crunchy and fast. I find it at Walmart or Amazon.
Other popular gluten-free breads include: Little Northern Bakehouse, Canyon Bakehouse, and Udi’s.
Each brand of bread may weigh slightly more or less than the 14.1oz of Schar loaf. If that is the case, you’ll have a little more room to spread out on the pan if it weighs less, or you may find you’ll want two sheet pans if it’s quite a bit more. The recipe is flexible and you can adjust as need be.
CAN I USE OTHER METHODS?
When I’ve been in a rush, and only wanted a few bread crumbs, I’ve used my air fryer and it worked great. Every air fryer is probably a little different, so I don’t recommend a set time. I took the tray and filled it evenly in a flat layer with the bread that had been processed in the food processor. Then, I sprayed it with non-stick spray on top to help it crisp and let it cook on “air fry” mode for 5-10 minutes. Because it’s a smaller oven and the heating element is closer, I found it didn’t take long until I had yummy bread crumbs to add to my Cesar Salad in no time!
Try it the next time you only need a couple handfuls of bread crumbs, and stick to my recipe below when you want to use up an entire loaf and make a big batch in the oven.

HOW DO I MAKE THESE HERBED BREAD CRUMBS
There are two methods for making herbed breadcrumbs. You can either mix the spices together and add it afterwards. This is a great method when you want a little of each. As you’ll see in my how-to-video, that I make an entire batch. I take half of the batch once it’s done cooking and remove it from the pan so I can have some plain. Then, I generously sprinkle the herb mix over the remaining half. I like to have plain and Italian breadcrumbs on hand since each can be used in different recipes. This isn’t my favorite way, as I feel the herbs don’t adhere as well, but it’s still a good method.
My favorite way to add herbs to make your breadcrumbs have that classic Italian herbed flavor is to stir it into the breadcrumbs BEFORE baking. I find that when you spray the breadcrumbs with the non-stick spray it helps adhere the herbs to the crumbs, as well as baking it to help the flavors meld better. If you forget, or don’t want to flavor the entire pan, it will still work as mentioned above, but if you know you want Italian breadcrumbs from the beginning, I’d recommend this second method instead.
WHAT ARE BREAD CRUMBS GOOD FOR?
Breadcrumbs are used in a ton of savory dish applications, ranging from meatballs, meatloaf, Japanese recipes, Italian recipes, breaded chicken cutlets, a topping for soups, salads and pastas (like mac and cheese!) and more! You never know when you’re going to have a hankering for a recipe that calls for breadcrumbs, and you don’t want to have to run to the store when that happens. Because these breadcrumbs can freeze up to 3 months, make a big batch so that you’ll always have some in the freezer when the hankering strikes!
Crunchy breadcrumbs can really make a good dish even better by giving a contrast in texture and giving it more of a bite. Flavor and texture are what these really add to any dish.
You should be able to use gluten-free breadcrumbs at a 1:1 ratio for regular breadcrumbs, making them an easy switch when using recipes.
HOW DO I STORE GLUTEN-FREE BREADCRUMBS?
Storing breadcrumbs is easy. Wait until they cool and then store them in an air tight container; they can last for one week in the fridge, or up to 3 months in the freezer. If you’re going to freeze them, be sure to write the date on it so that you can remember when you put them in there. Thaw when you’re ready to use.
ARE BREAD CRUMBS THE SAME AS PANKO?
Panko and breadcrumbs are not the same. Panko is known in Japanese cooking and frying (tempura) and it’s white breadcrumbs that have had all of the crust cut off. Which is why they have that signature all-white look to them. Supposedly they’re also processed a little different so that they absorb less oil (hence why they’re popular in Japanese frying).
Breadcrumbs use the whole bread. Some people prefer to leave the heel (also known as ends) of the bread off, but I actually love to use them because they’re not great for eating plain, so you might as well use them up in the breadcrumbs. Plus, I like that it gives the breadcrumbs more color and variety in look. That gluten-free bread is expensive, use it all up!
WHY DO YOU USE COOKING SPRAY?
When I was researching bread crumbs, I found there was a divide. Some used nothing at all–just bread–and some used olive oil. While you can get away with using just bread, I do feel like adding some oil helps it crisp and brown a bit better.
I didn’t like pouring straight olive oil on the bread, as I feel it made it too wet and heavy. So, what to do to make sure it still got a little bit of moisture, but a light/even application?
In comes the cooking spray. It’s perfect.
The spray I use is canola oil, but if you’re wanting a different oil, a spray many like is Chosen Foods Avocado Oil Spray (with no soy lecithin in it). Use whatever you prefer or have on hand that works for your individual diet.
DO I HAVE TO USE A FOOD PROCESSOR?
Yes. I don’t know how else you’re going to break the bread down so evenly and small without this instrument. It’s a good kitchen tool to have on hand. You can blitz the bread as much as you like, for larger breadcrumbs down to a finer crumb. Your call. Watch it closely and turn it off once you’ve reached your desired size. It only takes a minute, if that.
WHAT TOOLS DO I NEED?
- Cutting board and knife to cube the bread
- Food processor to blitz the bread down to even crumbs
- Half sheet rimmed cooking tray
- Spatula
- Container for putting the cooled breadcrumbs in
- If you’re making the herbed mix, you’ll also need:
- measuring spoons
- small mixing bowl
- mixing spoon
WHAT INGREDIENTS DO I NEED?
- One loaf of your favorite gluten-free bread (I use a 14.1 oz loaf of Schar Gluten Free Artisan Baker White Bread Loaf)
- Your favorite cooking spray
- If doing herbed you’ll also need:
- Table salt
- Black pepper
- Garlic salt (or powder will do)
- Onion powder (or salt will do)
- Dried Italian seasoning
- Dried parsley
ARE THESE BREAD CRUMBS ALLERGY FRIENDLY?
Depending on the type of bread and cooking spray you use, they are very allergy friendly. I use Schar bread, which does have soy, so my recipe as is is free of 8 of the top 9 allergens. It is free from: gluten, wheat, dairy, egg, fish, shellfish, peanuts, tree nuts and sesame.
Read the labels of everything you use to determine which allergens your breadcrumbs are free of.
DO I HAVE OTHER GLUTEN-FREE BREAD RECIPES?
I do! Don’t stop at gluten-free breadcrumbs when there is still a delicious bread world waiting for you even without gluten. All of the recipes on my site are gluten-free, so pursue all of my 300+ recipes, but be sure to check out my gluten free bread, gluten free cinnamon rolls, gluten free biscuits, gluten free pie crust, gluten free graham crackers, and gluten free pancakes.
And, if you’re wanting a topping, but a little bit bigger, don’t forget to check out my gluten-free croutons that go perfect in my Tomato Basil Soup.
DO I HAVE TO USE STALE BREAD? CAN I USE FRESH?
I love that you don’t have to leave the bread out overnight for this recipe. You can use brand new, fresh from the bag bread. The oven will take care of drying it out for you, so no need to worry if you want breadcrumbs stat and only have fresh bread on hand. No waiting!
DO I HAVE A VIDEO SHOWING HOW TO MAKE THEM?
I do! Once you see how ridiculously easy this is, you’ll be making breadcrumbs stat! The video should auto populate, if it doesn’t, it’s embedded into the bottom of the recipe card. If all else fails, you can view it on my YouTube channel.
Easy Gluten Free Bread Crumbs
Easy homemade gluten-free breadcrumbs. Ditch the store and make an entire sheet pan and freeze them for whenever you need to make meatballs, breaded chicken or need a delicious topping for your soups and salads. I have versions for both plain and herbed. These breadcrumbs are also free of: dairy, egg, fish, shellfish, peanuts, tree nuts and sesame.
Ingredients
Optional spices for herbed/Italian breadcrumbs:
- 1/4 teaspoon table salt
- 1/4 tsp pepper
- 1/2 teaspoon garlic salt
- 1/2 teaspoon onion powder
- 1/2 teaspoon of dried Italian seasoning
- 1/2 tsp parsley
Instructions
- Preheat the oven to 325 degrees F.
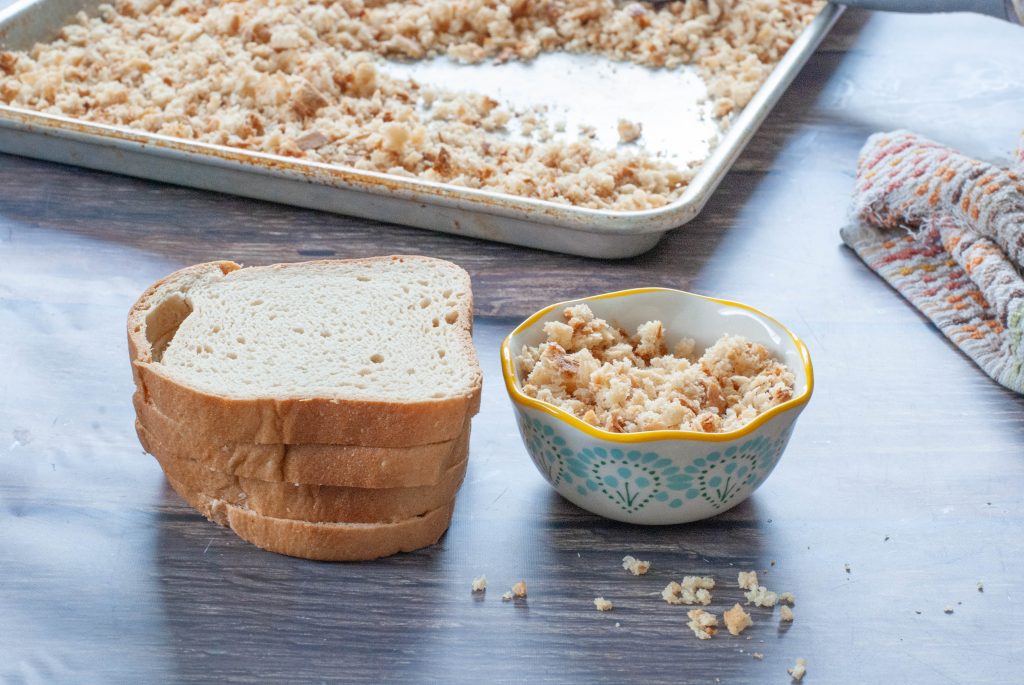
- Cube the bread, heel and all. This will make it easier for the food processor to break it down.
- Place in your food processor. (Depending on what size of food processor you have, you may need to do this in two batches.)
- Lay the breadcrumbs flat and evenly on a rimmed baking sheet.
- Spray with your cooking spray of choice lightly.
- Bake for 8 minutes.
- After 8 minutes, take it out and toss it.
- Spray the breadcrumbs again and bake for an additional 8 minutes.
- Test the breadcrumbs (depending on the brand, you may need a few more minutes). Make sure they're as crispy and crunchy as you prefer. If you like them more browned, after baking you can even broil them for 1-2 minutes (keeping a close eye). I like mine very toasted.
- Take out of the oven and cool. Use as needed.
- Leftover breadcrumbs can be stored in an airtight container in the fridge for up to one week. Breadcrumbs can also be frozen for up to 3 months.
- For herbed breadcrumbs you can do one of two things:
You can either mix the spices together and add baking. This is a great method when you want a little of each. As you'll see in my how-to-video, that I make an entire batch. I take half of the batch once it's done cooking and remove it from the pan. Then, I generously sprinkle the herb mix over the remaining half. I like to have plain and Italian breadcrumbs on hand since each can be used in different recipes. This isn't my favorite way, as I feel the herbs don't adhere as well, but it's still a good method.
My favorite way to add herbs to make your breadcrumbs have that classic Italian herbed flavor is to stir it into the breadcrumbs BEFORE baking. I find that when you spray the breadcrumbs with the non-stick spray it helps adhere the herbs to the crumbs, as well as baking it to help the flavors meld better. If you forget, or don't want to flavor the entire pan, it will still work as mentioned above, but if you know you want Italian breadcrumbs from the beginning, I'd recommend this second method instead.
Notes
Be sure to watch the video for visual directions before proceeding.
All of the frequently asked questions, tips and substitution questions are spelled out in detail above.
*Our allergies, while severe and that get re-tested frequently, are such that we can go strictly by what's on the label. I do not call companies to see what things are derived from, or call manufacturers to see about potential cross contact. If your allergies require you to do so, please do your own homework. I cannot assure you of any ingredient's safety, only you can do that. I simply share what works for our family
Nutrition Information:
Yield: 7 Serving Size: 1Amount Per Serving: Calories: 14Total Fat: 0gSaturated Fat: 0gTrans Fat: 0gUnsaturated Fat: 0gCholesterol: 0mgSodium: 210mgCarbohydrates: 2gFiber: 0gSugar: 0gProtein: 0g
DON’T FORGET TO PIN IT SO YOU DON’T LOSE IT. BE SURE WHILE YOU’RE THERE TO CHECK OUT MY OTHER GLUTEN-FREE PINS

Hi! I’m Megan, a mom to four kids, two with multiple food allergies & one with EOE. I’m a published cookbook author who constantly tweaks recipes to make them allergy-friendly—it’s an addiction. I’m also a member of the Allergy Advisory Council for Certified Free From Foods, where I help advocate for safer labeling and standards. I share every recipe & tip with the hope that they help you as you manage your food allergies & dietary restrictions. You can still be awesome, even with food allergies!
Related Recipes:
 Double Chocolate Banana Bread (Gluten-Free, Vegan & Top-8-Free)
 Applesauce Quick Bread (Gluten, dairy, egg, soy, peanut & tree nut free; top 8 free; vegan)
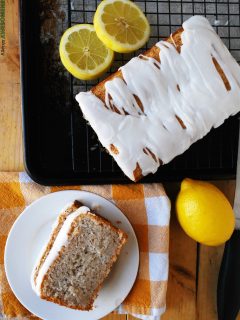 Allergy-Friendly Lemon Bread With Lemon Glaze
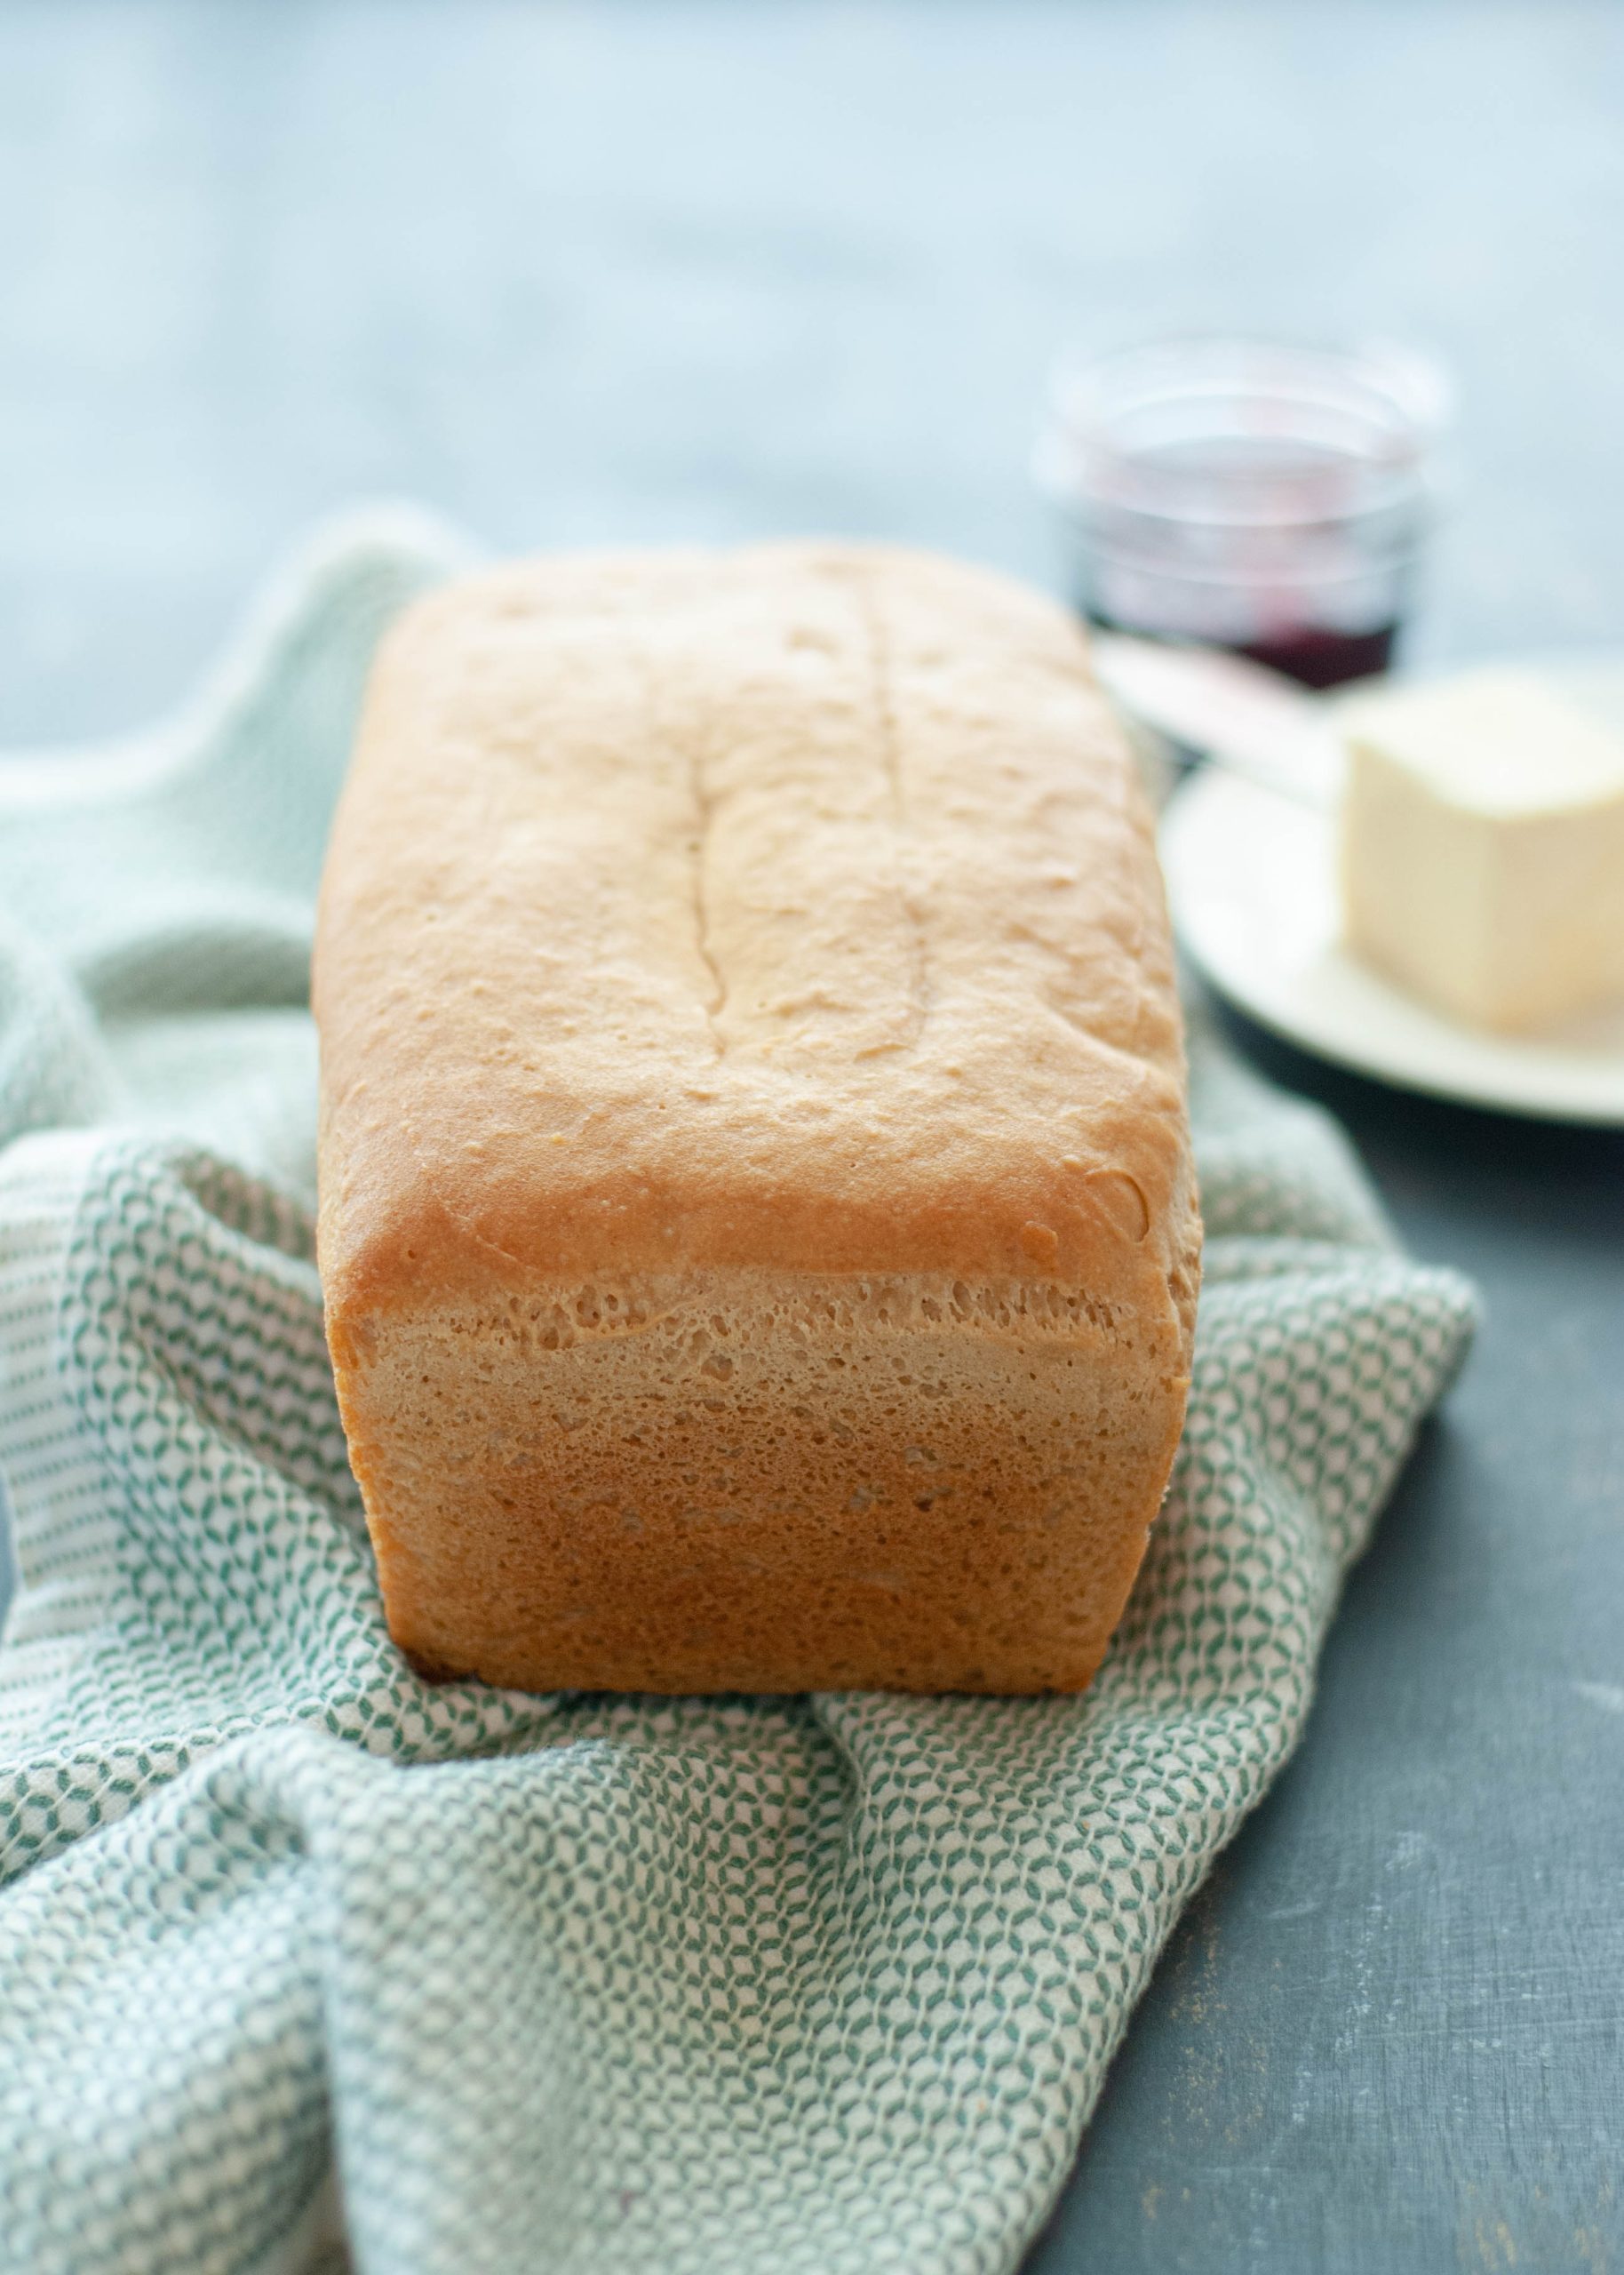 Egg-Free Gluten-Free Bread Recipe + VIDEO
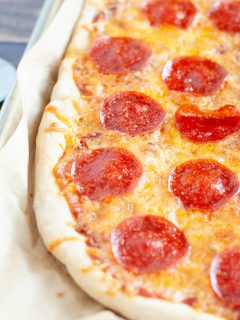 Gluten Free Pizza Crust + VIDEO


Leave a Reply